You rely on your central air conditioner to keep your home comfortable all summer. But when was the last time you gave it a second thought? For most homeowners, it’s when the system suddenly quits on the hottest day of the year, or when the energy bill arrives and it’s shockingly high. The truth is, your central air conditioning system is a complex machine that thrives on a little basic care. Neglecting it is like never changing the oil in your car—eventually, it leads to a costly and preventable failure.
This guide will walk you through the essential maintenance tasks you can safely perform yourself and explain which jobs are best left to a professional. My goal is to help you extend the life of your system, improve its efficiency, and keep your home cool without breaking the bank.
Why Maintenance Matters: The “Athlete’s Lung” Analogy
Think of your central air system as an athlete. The outdoor condenser unit (the big metal box outside) is like the athlete’s lungs. Its job is to exhale all the heat it pulls from your home. The indoor evaporator coil (located inside your air handler or furnace) is like the bloodstream, absorbing heat and humidity from your indoor air.
Now, imagine that athlete trying to run a marathon while breathing through a clogged straw. That’s exactly what happens when the condenser coils are matted with dirt, leaves, and grass clippings. The system can’t “breathe” out the heat efficiently. It has to strain and run longer to cool your home, driving up your electricity bill and wearing out components like the compressor—the equivalent of the athlete’s heart—prematurely. Simple maintenance clears that “straw,” allowing your system to run smoothly and efficiently.
Safety Disclaimer: Your #1 Priority
WARNING: Air conditioners contain high-voltage electrical components, a powerful fan, and refrigerant under high pressure. Always turn off the power completely before performing any maintenance. This means switching off the disconnect box (a small metal switch or pull-out fuse near the outdoor unit) AND turning off the corresponding circuit breaker at your main electrical panel. Refrigerant lines should only be handled by EPA-certified technicians. If you are unsure or uncomfortable with any step, stop and call a licensed HVAC professional.
Tools You’ll Need for Basic DIY Maintenance
- A garden hose with a spray nozzle (not a pressure washer!)
- A soft-bristle brush or a fin comb (available at HVAC supply stores)
- A screwdriver (often a Phillips head)
- A new, clean HVAC air filter (check your unit’s size)
- Work gloves and safety glasses
Your Step-by-Step Seasonal Tune-Up
Perform these tasks at the start of the cooling season (spring) and check the filter monthly.
1. Shut Off All Power
Locate the outdoor disconnect box and switch it to the “OFF” position or remove the pull-out fuse block. Then, go to your main electrical panel and turn off the circuit breaker that controls the outdoor air conditioning unit. This is non-negotiable for safety.
2. Clean the Outdoor Condenser Unit
Clear away any leaves, vines, grass, or debris within a 2-foot radius of the unit. Gently remove the protective grille or fan cage (usually held by a few screws). Using your soft brush, carefully clean dirt and debris from the aluminum fins. Be gentle—they bend easily. If fins are bent, a fin comb can straighten them to restore airflow. From the inside out, spray the coils with your garden hose to wash away remaining dirt. Never use a pressure washer, as it will damage the delicate fins.
3. Check and Level the Unit
Ensure the concrete pad or stand the unit sits on is level. A tilted unit can cause oil pooling in the compressor, leading to premature failure. If it’s settled, you may need to have a professional shim it.
4. Replace the Indoor Air Filter
This is the single most important thing you can do. A dirty filter restricts airflow, forcing the system to work harder, freezing the evaporator coil, and spiking energy use. Locate your filter (in the return air duct, furnace, or air handler) and replace it with a new one of the exact same size. Check it monthly during peak season. For more on filter types and MERV ratings, the U.S. Department of Energy has a great resource.
5. Clear Indoor Vents and Registers
Walk through your home and ensure all supply vents and return air grilles are open and unblocked by furniture, rugs, or curtains. Balanced airflow is critical for system performance and comfort.
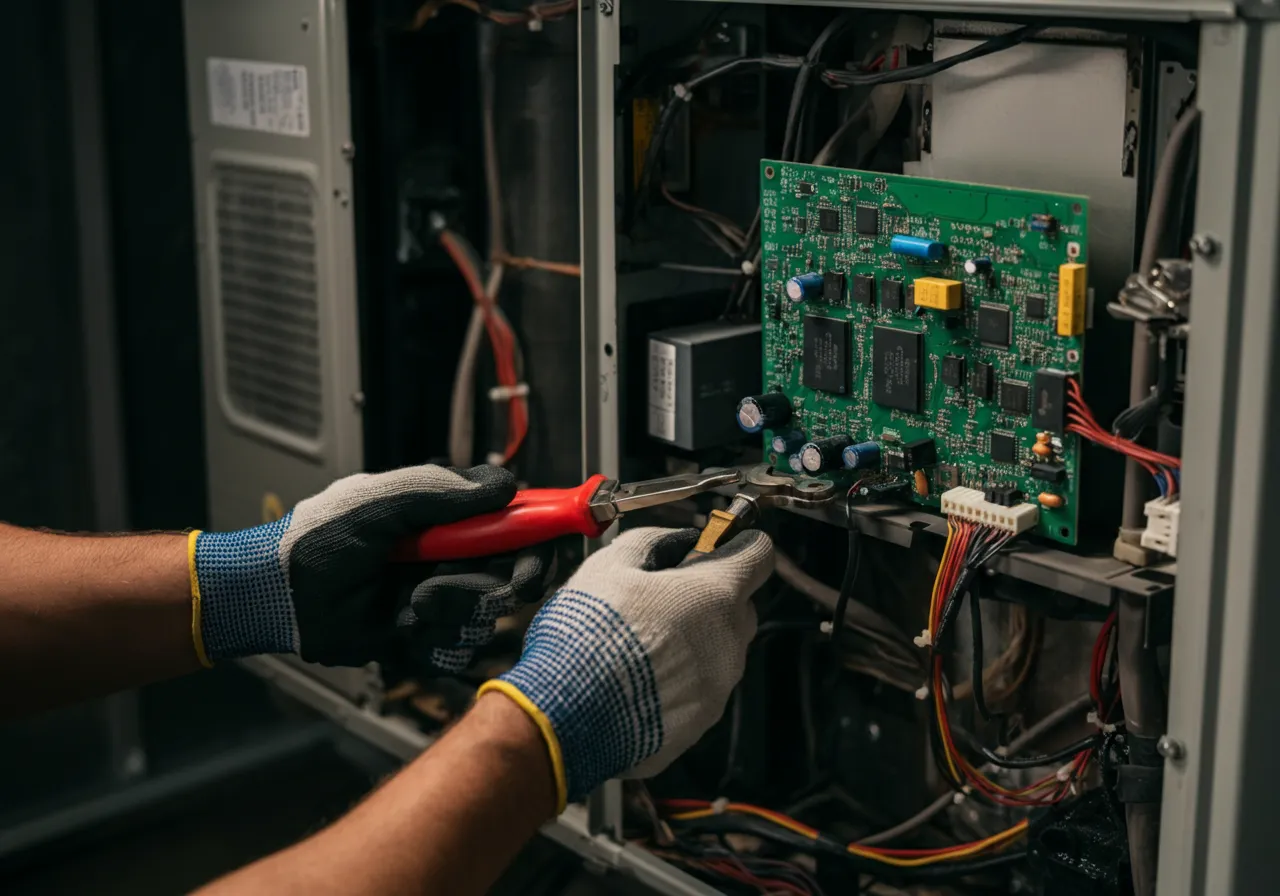
When to Call a Professional HVAC Technician
Some maintenance requires specialized tools, knowledge, and certifications. You should schedule a professional tune-up at least once a year. A pro will:
- Check refrigerant charge and inspect for leaks (handling refrigerant requires an EPA license).
- Measure superheat and subcooling for optimal performance.
- Inspect electrical connections, tighten them, and check voltage/amperage on motors.
- Lubricate moving parts (if applicable—many newer motors are sealed).
- Clean the indoor evaporator coil and condensate drain line to prevent water damage and mold.
- Check the operation of the thermostat and system controls.
Signs Your Central Air System Needs Immediate Attention
Don’t ignore these symptoms. They often signal that a small issue is becoming a major repair.
| Symptom | Possible Cause | Action |
|---|---|---|
| Reduced cooling or weak airflow | Dirty filter, blocked coils, failing blower motor | Check filter & vents, then call a pro |
| Unusual noises (grinding, screeching) | Failing motor bearings, debris in fan | Turn system off and call a pro |
| Water pooling around indoor unit | Clogged condensate drain line | Try cleaning the drain line (with a wet/dry vac) or call a pro |
| Frozen coils (ice on copper lines) | Low airflow (dirty filter/coil) or low refrigerant | Turn system off, let ice melt, check filter. If problem persists, call a pro. |
| Foul odors from vents | Mold in ductwork or evaporator coil | Call a pro for cleaning and inspection |
Frequently Asked Questions (FAQ)
How often should I really change my air filter?
For standard 1-inch filters, check monthly and change every 1-3 months during peak cooling/heating seasons. With pets or allergies, you may need to change it monthly. Thicker 4-inch media filters can last 6-12 months, but always follow the manufacturer’s guidelines.
Can I just cover my outdoor unit in the winter?
It’s not recommended to use a solid, plastic cover. It traps moisture, leading to rust and corrosion, and can become a home for rodents. Instead, use a breathable, mesh cover or simply place a piece of plywood on top to keep leaves and ice out of the fan grill.
What’s the average lifespan of a central air conditioning system?
With proper annual maintenance, a well-installed system can last 12-15 years, sometimes longer. Neglecting maintenance can cut that lifespan in half due to preventable strain on the compressor and other major components.
Final Thoughts
Treating your central air conditioner to a little routine care pays massive dividends. You’ll enjoy lower utility bills, more reliable comfort on the hottest days, and you’ll delay the need for a very expensive replacement. Remember the athlete’s lungs: keep the airflow clear. Commit to the simple DIY tasks of cleaning the outdoor unit and changing the filter religiously, and partner with a trusted HVAC contractor for an annual professional inspection. This proactive approach is the smartest investment you can make in your home’s cooling system.